
It all started a couple of weeks ago when I wrote out the recipe for my chocolate cupcakes. This is what I want to do if I plan to be very careful and not miss anything. I find its easier to follow and I can check off things as I add them.
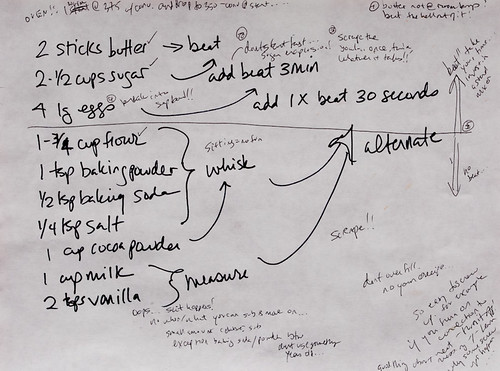
Beat 2 sticks of butter until soft.
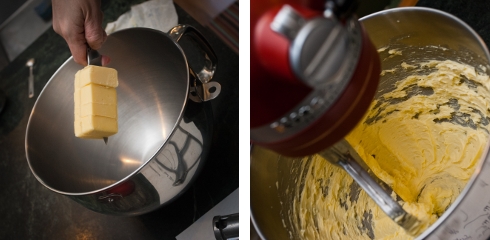
First off – the butter. Every recipe says it, but do we always pay attention? ROOM TEMPERATURE. I really can’t stress enough just how important this step is. I have been disappointed before… About to start baking only to remember that I forgot to take out the butter hours earlier. But really – the best thing to do? Wait it out. An alternative? Beat the hell out of the butter all by itself, scraping down a few times in between beatings. Why? If the butter isn’t soft it won’t get all nicely cut up by the sugar and distributed evenly in the batter. You might just end up with little pools of it melting in your end result. I have had it happen. But whatever you do, don’t microwave the butter. It will just melt and melted butter is useless to you.
Add 2-1/2 cups of sugar and beat until light and fluffy.
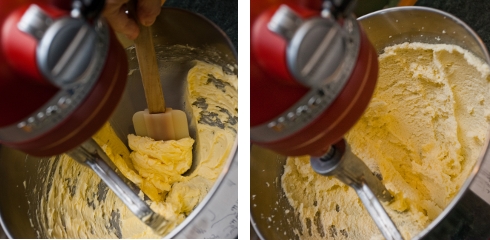
Most butter-based recipes say this as well. Beat until light and fluffy. Beat for 3 minutes. Etc. But do you always? Why 3 minutes? Why not 2 or 4? What is light and fluffy? Bottom line? You want to beat that butter well. You want it cut up into tiny, tiny pieces by the grainy sugar so it doesn’t end up into little pools compromising the structure of your wonderful cupcakes. So, beat away! Turn on your mixer and have a glass of wine! Scrape down the bowl and beat some more. (Sometimes mixers leave a thin layer of butter untouched… once that gets folder into your batter you could be in trouble!)
Add 4 large eggs, one at a time, beating well between each.
Similarly, you want the eggs incorporated very well. Basically when you are baking things like cupcakes, you DON’T want to beat the batter once the flour is in (it will toughen them up) but you DO want to beat the ingredients so they are well incorporated. So, beat the butter, sugar, and eggs as much as you can (without going overboard). Now is the time for beating.
Whisk together 1-3/4 cup flour, 1 tsp baking powder, 1/2 tsp baking soda, 1/4 tsp salt, and 1 cup unsweetened cocoa powder
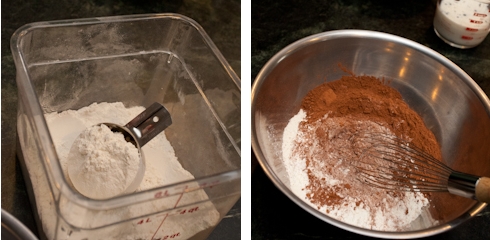
Measure out 1 cup of whole milk and 2 teaspoons vanilla.
Alternate adding the dry ingredients and wet ingredients mixing to incorporate between batches.
So what is with this step? It’s always a little complicated to write down. Some recipes are very specific about adding 1/3 dry ingredients, mixing, adding 1/2 wet ingredients, mixing, 1/3 dry ingredients, and so on. Is there something magical about these proportions? Doubtful. What you want to avoid is dumping everything in and having to beat and beat to get it mixed up, because word on the street (ok, I never tried this…) is that doing so will make your cupcakes tough. The idea being the glutens get over beaten. Whether this is exaggerated, I do not know, but with many of the other steps described above, I have screwed up and have seen the unfortunate results. So I am leaning towards this being a good thing to follow. One day I should over-beat some and see what happens.
Scoop batter into cupcake papers 1/2 full.

This chocolate cupcake recipe is a result of my experimentation in trying to get the cupcake to be as delicate as possible and as chocolately as possible without being a complete disaster. That said, you need to be careful. Don’t, I repeat, DON’T overfill the papers. And DO make sure your oven is at the temperature it says it is. If you are super concerned, add another 1/4 cup of flour to the recipe. That will help reduce some of the risk. That said, I love the way the cupcakes come out and while I do sometimes overfill and get some overflow, it doesn’t stop me from eating them and sharing them.
Bake for approximately 22-25 minutes at 350F or until a cake tester comes out clean.
This step sounds easy. It isn’t. It’s where I tend to screw up when I do. For example, I have a working theory that cool spots in the oven cause some of my cupcakes to overflow. This is because the overflowing cupcakes tend to be in one area. I especially see that if I am baking a lot of cupcakes. The ones on the lower rack tend to overflow. So often I will do one of two things, preheat the oven to 375F and drop it to down to 350 once I get them in there. Or I will preheat to 350F but run the convection fan during preheat and for the first 10 minutes of baking. The problem with this (I did it a couple of weeks ago) is if you leave the convection fan on the whole time, the cupcakes will over bake and be crumbly and dry. Normally when you use convection you should drop the temperature down 25 degrees. I also think convection is better for things like cookies or chicken where you want it to get crispy, but doesn’t work so well with cupcakes. It seems like a good way to get rid of unevenness in the oven…. Jury is still out.
I recommend not disturbing the cupcakes for the first 10-12 minutes. Then I will often rotate the pans also because of the unevenness mentioned above. I start testing at around 22 minutes for this recipe. I think post people use toothpicks as opposed to official “cake testers” but I use an ice pick as that’s what I have on hand. Anything pointy you can stick in there. If you under-bake these cupcakes they will be gummy. If you over-bake them they will be dry and crumbly. So start testing around 22, test every couple of minutes, and try your best to get it right.
Whew, with any luck you have some gorgeous cupcakes cooling on a wire rack. Now let’s get cracking on the frosting.
Beat 2 sticks of butter until soft.
Pretty much the same thing goes with frosting. It’s way better if your butter comes naturally to room temperature before making frosting. I have tried many shortcuts and they work ok enough, but in my opinion you won’t get as smooth as a frosting otherwise.
Sift in 3-4 cups of powdered sugar and beat until smooth.
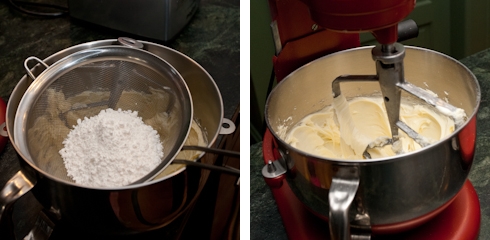
Add 1/4 cup of strawberry puree and beat until combined.

Add more powdered sugar until you get the consistency you like.
When you add a liquid to buttercream it’s hard to get it to a nice thick consistency that is good for photo shoots. You can keep adding powdered sugar, but it won’t help. So minimize the amount of liquid. I went beyond 1/4 cup in one try of this recipe and it was way too much. I never recovered the frosting. It was usable, but runny. If you are anxious about this, omit the puree and just add chopped strawberries. It won’t be as strong a strawberry flavor, but less risk is involved.
I also made a cream cheese version of the strawberry frosting. If you want to try that substitute 1 8-ounce package of philly cream cheese with 1 of the sticks of butter and don’t add much puree. Stick more to using chopped strawberries as the cream cheese will already make the frosting softer than buttercream.
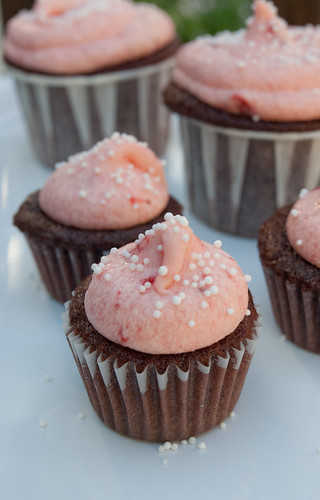
Decorate as usual by either piping the frosting on, scooping it on, whatever works for you. If you pipe, use a tip with a big opening, like 1/2 inch or so.
Tidak ada komentar:
Posting Komentar